How to Remove Green Screen from Video Using After Effects
Chroma keying or green screen technology has become one of the most popular techniques in the industry by making the creation of videos more versatile. Adobe After Effects is one of the most comprehensive tools in the industry of VFX, as it is equipped with high-quality features that make it possible to remove green screen from video. Whether you are new to keying or a professional, being able to have good experience in green screen removal is essential for your projects to be better. This guide will provide a step-by-step guide to green screen removal in After Effects from the initial stages of importing the footage to fine-tuning the final clip.
Remove Green Screen from Video: Understanding Green Screen Technology
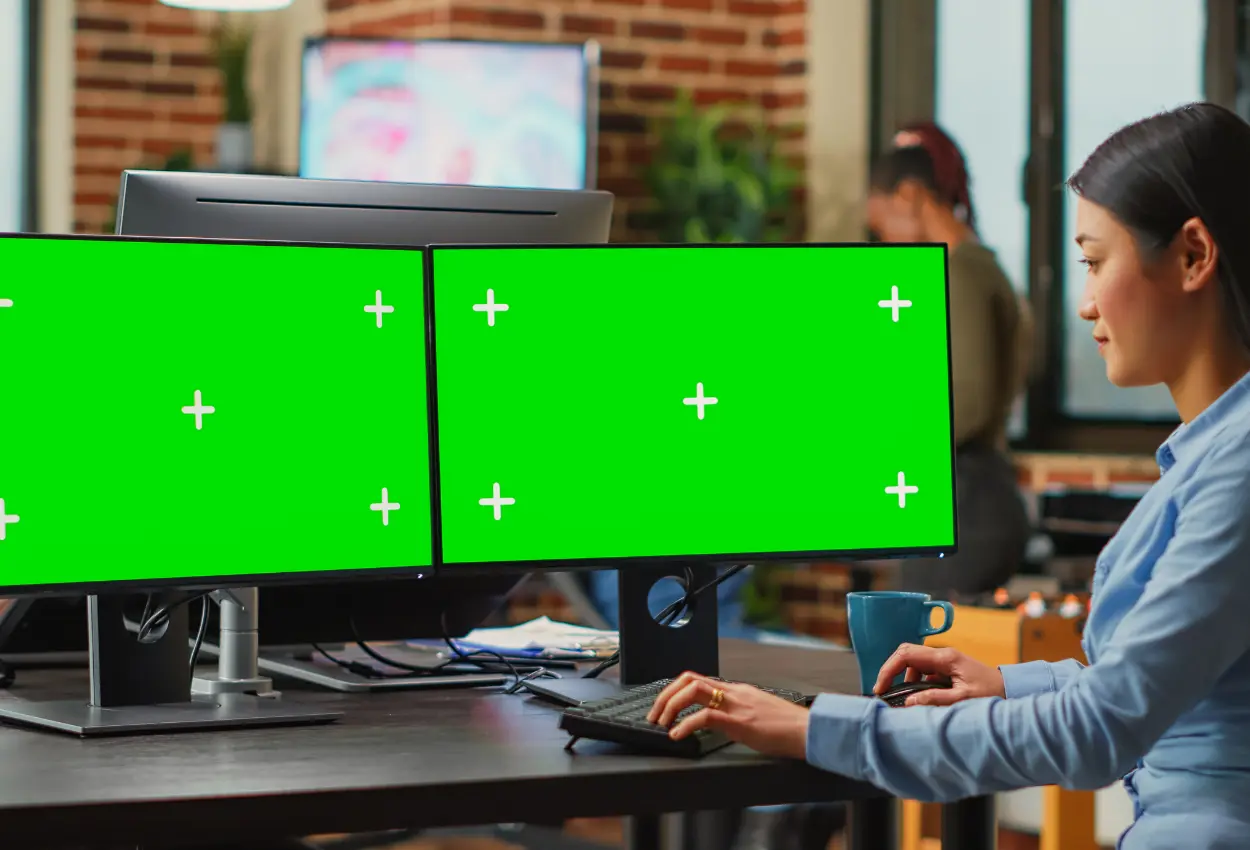
Before going into detail about the process, one should know what green screen technology is and why it’s considered to be one of the most effective tools in filmmaking. The technique implies making a particular subject stand in front of an emerald green background so that a replacement can be made later. Green is usually chosen because it stands out against most skin tones and clothing thereby making it easier to select and eliminate.
This is typically achieved by the proper use of keying tools offered by After Effect and most of them make it easier to get rid of green screens as seen below.
Step 1: Shooting Your Footage
- It is important to record high-quality footage in any green screen project as the initial process. The shooting plays a major role in determining the success of the green screen removal job that has to be done. It is also important that you properly light your green screen so that there are no shadows or hotspots since these will make your job harder during editing.
- Once your footage is ready, you can import it into After Effects:
- Start the After Effects program and click on a New project.
- Go to the edit timeline and then select File, under this, select Import and then File to import your raw video clips. Choose the green screen clips that you wish to use and then click on Open.
Step 2: Create a New Composition
Right after following the step of importing your footage, you need to create a new composition:
- You have to drag your footage into the Timeline panel. This will create a new composition by default and use the setting of your video.
- If you think the name of the composition is to be changed or needed then you may rename your composition by right-clicking on it in the Project panel and then choosing Rename.
Step 3: Apply The Keylight Effect
After Effects comes equipped with a powerful tool called Keylight that is specifically designed for green screen removal:
- To apply that effect, you select the footage you want to change in the Timeline panel.
- Choose the Effects & Presets tab, type ‘Keylight’ in the search bar, and then apply the Keylight (1. 2) to your clip.
Step 4: Selecting the Screen Colour
With Keylight applied, the next step is to select the green color you want to remove:
- In this tab, there is the Keylight controls tab in which we will be seeing the effects controls.
- Click on the Screen Color eyedropper tool drop-down menu.
- Mix the color by clicking an area in your footage that is green during the color grading sampling process. Performing this action will start the transition from taking away the green screen from your video right away.
Step 5: Fine-Tuning the Key
The first key may not be so accurate, let alone if your green screen is not well-lit. To refine the key, follow these steps:
- Screen Matte: Depending on the previously selected view, scroll down to the bottom of the Keylight settings to Final Result, and instead choose Screen Matte. This will display your footage in black-and-white format with the white part portraying the subject and the black part showing the transparent portions.
- Clip Black: Raise this value to eliminate any unclear feelings that the user has concerning elementary aspects of the application window.
- Clip White: Reduce this value to make sure that the subject is fully anonymous all the time.
- Despot White/Black: These controls assist get rid of the white or black shells that may be noticed within the matte.
- Screen Softness: Regarding sharp edges that might appear at the edges of your subject if they seem too sharp or contain jagged outlines, you’ll want to fine-tune this parameter; in the menu, you can find the Screen Softness option which looks valuable in this context.
Step 6: Arrangement and Cleaning of the Edges
You can then remove the green screen and if your subject is not blurred well then you will find the edges a bit harsh. To clean up these edges follow the below steps:
- Use the Simple Choker effect that is found in the Effects and Presets by typing “Simple Choker” on the search bar and then dragging the effect to the footage.
- If the edges are soft and slightly blurred reduce the Choke Matte value in the Effect Controls section. However, one should not overdo it since doing so results in the loss of the outer edges of the subject.
Step 7: Adding a Background
Now that to remove Green Screen from video, it’s time to replace it with a new background:
- To set your background image or video, go to File click on Import, and then choose File.
- Pull your background over the new Timeline panel under your keyed footage layer.
Step 8 Colour Correct & Match
To create a seamless composition, it’s essential to color-correct your subject to match the new background:
- Select your footage layer.
- Under Effects & Presets, type in and search “Curves. ” Then, add the Curves effect to the footage. Erase the background and appropriate red-green-blue curves to adjust to the shooting conditions. If a perfect match cannot be achieved, then it is possible to use other color correction tools like Hue/Saturation and Brightness & Contrast.
Step 9: Final Touches
After color correction, you might want to add some final touches to polish your composition:
- Motion Blur: If your subject was moving in the original footage, activate the ‘Motion Blur’ option to apply the correct blur to movement. This can be done by clicking the check box of Motion Blur in the Timeline panel, which is beside your footage layer, and turning on the motion blur for the comp.
- Light Wrap: For further enhancing the separation of your subject from the background use the light wrapping technique. This is done in that issues create some kind of haze around the edges of your subject that gives them a more natural look with the background.
Step 10: Exporting Your Video
Once you’re satisfied with your composition, it’s time to export your video:
- Open Adobe Premiere by clicking ‘Composition and open the desired video clip by going to ‘File and then Add to Render Queue.’
- In the Render Queue panel, right-click on the Output Module to adjust your desired format and render settings.
- To begin exporting your video click a Render button below the tender interface.
Conclusion
It would seem to be a very complicated process to remove green screen from video in After Effects. However, after some time, it becomes very easy. By following the above-mentioned steps one will be to delete the green screen from the video, thus resulting in cutting a very polished final product. This skill is beneficial when developing content for social networks, movies, or business videos and will undoubtedly improve the quality of work.
You need to know this while it is an important aspect to note that for green screen removal to be effective it requires proper planning and an equally proper execution process both at the set and in editing.