The Process of Rotoscoping
There are countless ways to create eye-catching animation in film, but few are as unique or painstaking as rotoscoping.
While many people recognize rotoscoping in modern projects like Spider-Man: Into the Spider-Verse, its roots go way back, shaping the industry for decades.
In this post, we’ll explain the history and the process behind rotoscoping to understand why it’s still a valuable tool for filmmakers and animators. We will also offer insights on how you can handle large-scale projects that require top-tier rotoscoping.
What is Rotoscoping?
Rotoscoping is a technique in which animators trace over live-action footage frame by frame. This process allows us to create realistic animations or isolate specific elements in a scene.
A Quick Dive into the History of Rotoscoping
Rotoscoping dates back to the early 20th century and was pioneered by Max Fleischer in 1915. Fleischer’s method involved projecting live-action film onto a glass panel and tracing it frame-by-frame to make his animated characters move in a more human way or style.
To bring his idea to life, he filmed his brother, Dave Fleischer, dancing around in a clown costume, then projected the footage and traced the movements frame by frame to create Koko the Clown.
The Out of the Inkwell (1918) was the first series in which the Fleischer brothers used the rotoscope technique for the first time, a series featuring Koko. Since then, this technique has evolved (done on computers) and remains a vital part of the visual effects and animation industry.
Iconic Uses of Rotoscoping in Film
While rotoscoping has been around since the 1900s, its popularity skyrocketed in 1933 when Max Fleischer began using it to create lifelike movements for characters, especially in the Betty Boop and Popeye cartoons (see below).
Soon, Disney Studios adopted the technique, using it in classics like Snow White and the Seven Dwarfs (1937) and Cinderella (1950) to bring the princesses’ movements closer to life.
The approach was also famously used in Star Wars (1977), where artists used rotoscoping to trace and animate the glowing, pulsing lightsabers.
Rotoscoping in the Digital Age
By the late 20th century, rotoscoping took on a new, experimental form. Directors began using it not only for realistic movement but also to create dreamlike and surreal visual effects.
For instance, Ralph Bakshi, an American animator and filmmaker, used rotoscoping in The Lord of the Rings (1978) to give characters like orcs and Ringwraiths a menacingly lifelike quality.
In A Scanner Darkly (2006), director Richard Linklater took rotoscoping to a new level by digitally tracing live-action footage, frame by frame, to create an entire film.
This technique was called interpolated rotoscoping, and it allowed animators to do rotoscoping within a computer.
In today’s industry, rotoscoping has evolved with technology. It is now faster, more flexible, and more accessible than ever with digital tools or digital rotoscoping software, such as Mocha Pro and SilhouetteFX.
Why Rotoscoping Is Still So Valuable
The rotoscope was revolutionary because it gave animators something they hadn’t had before: a way to make animated characters feel grounded in reality.
Despite today’s advanced CGI and digital animation tools, this technique continues to be valued because it provides a handcrafted realism that automated effects often struggle to match.
Plus, it offers an unparalleled level of precision. This is especially crucial for scenes requiring exact masking, complex effects, or realistic character movements that digital tools or software might struggle with.
The Rotoscoping Process
So, how exactly does rotoscoping work? Here’s a step-by-step look at the process:
Step 1: Capturing Footage
The first step is filming the live-action scene that serves as a reference. The goal is to capture specific movements and scenes for tracing.
Step 2: Importing and Preparing for Tracing
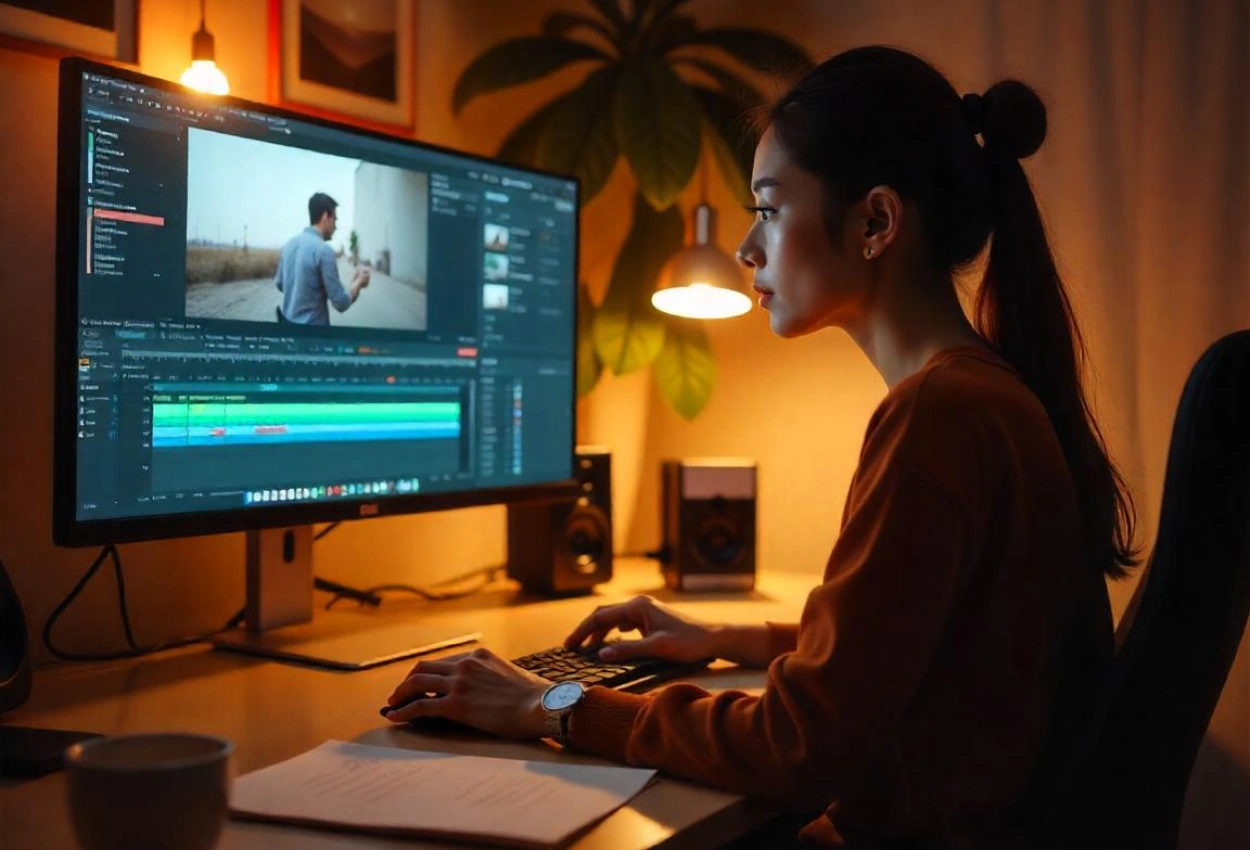
Once the footage is ready, the next step is importing it into rotoscoping software like Adobe After Effects or specialized tools like Silhouette. This software helps any animator trace each frame digitally, a method faster and more flexible than the traditional glass-panel tracing used by Max Fleischer.
Step 3: Tracing Frames
Then, artists trace over footage frame-by-frame to isolate objects, characters, or effects. This involves marking each element’s outline with incredible detail, often requiring hundreds or thousands of individual tracings (frames) depending on the scene’s complexity. Animators may use masking tools within the software to isolate the parts of the footage they wish to animate.
Step 4: Refining the Masks
Once the initial masking is done, the next step is to fine-tune each frame or outline to ensure there are no rough edges or unnatural lines in the frame. This step is crucial for achieving a seamless look, where the isolated elements look as realistic as possible.
Step 5: Compositing and Final Touches
This is the step where you or the animators will add shading, colors, or visual effects around the isolated element, combining it with backgrounds or CGI elements.
This can involve anything from making a character look ghostly to adding environmental effects around them. Then, you will do compositing to ensure that everything appears cohesive.
Tip for Handling Rotoscoping in Large-Scale Projects
Rotoscoping in large-scale projects, especially on tight deadlines, can quickly drain time and resources. Even with advanced software, this process demands precision, skill, a steady hand, and a sharp eye for detail.
Moreover, each project has unique challenges. Sometimes, the source material you are working with might not be ideal for rotoscoping, requiring even more effort to get it right. And while an in-house team might be skilled, the sheer volume of detailed, frame-by-frame work can overwhelm any workflow.
If you’ve tackled rotoscoping in-house, you know how quickly the hours add up even for one sequence, let alone a full-length project. This work can slow the production timeline, limiting your team’s capacity to focus on the creative direction.
That is why outsourcing complex rotoscoping work to a post-production partner can be a game-changer for studios, production houses, and independent creators.
By freeing up your team from the technical workload, you can stay focused on the big-picture vision and maintain quality without sacrificing valuable time.
Take Your Video to the Next Level with Rotoscoping
At Motion Effects, we specialize in post-production services. If you’re ready to enhance your visuals, let’s talk about how we can bring your vision to life with expert rotoscoping, 3D CGI, and VFX.
Explore our rotoscoping services here.