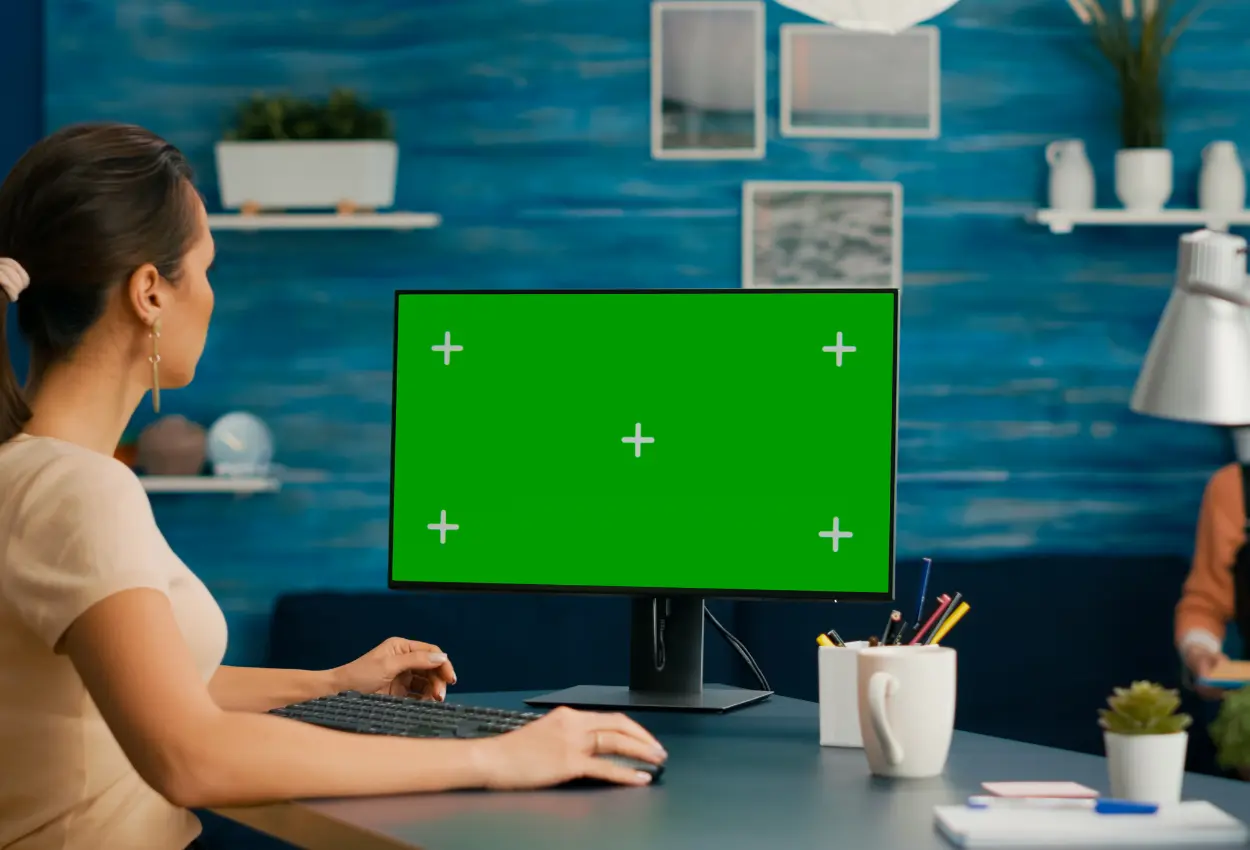
Green Screen Editing: Top Techniques We Use forChroma Key Projects
Green screen editing, also known as chroma keying, is a vital technique in modern video production. This process of layering multiple images together has become one of the most common forms of visual effects in all manner of film and video production.
From movie blockbusters to YouTube tutorials to music videos, the ability to seamlessly composite different elements into a single scene has become a hallmark of modern visual storytelling.
Let’s explore essential techniques for achieving flawless chroma key effects.
What Is Green Screen and Chroma Keying?
Let’s start with the basics. Green screen or Blue Screen, often synonymous with chroma keying, involves isolating a subject from its background to replace it with another image or video or CGI. In some cases, a blue screen backdrop is used due to its minimal interference with human skin tones.
Essential Techniques for Green Screen Success
Choosing the Right Screen
Always opt for non-reflective materials like “chroma key green” or “digi green” to minimize spill and ensure clean keying. The choice between green and blue depends on your scene’s context—green for general use and blue for scenes with green elements.
Getting the Lighting Right
Even lighting across the subject and green screen prevents shadows and hot spots, ensuring a uniform background ideal for keying. Separate lighting setups for the subject and background are crucial, maintaining a clear distinction between the two.
Camera and Shooting
We recommend filming with a high-quality codec like ProRes 442 or 444 to preserve color information, which is crucial for accurate keying in post-production. Ensure proper exposure of both foreground and background to prevent overexposure or underexposure that can complicate the keying process. Shooting in raw or log picture profile is also recommended.
Avoiding Spill
Spill occurs when green light reflects onto your subject, often manifesting as unwanted green halos. Minimize spillage by maintaining a distance between your subject and the screen, using proper lighting techniques, and choosing the right screen color based on your subject’s attributes.
Post-Production Keying
We use advanced keying tools in editing software such as DaVinci Resolve, After Effects, Premiere Pro, and for complex shots – Nuke. These tools allow for precise adjustment of key settings to achieve a clean, artifact-free alpha.
Troubleshooting and Enhancements in Post
It’s advisable to address common issues like wrinkled screens or green spills during filming. Techniques such as shallow depth of field can blur imperfections, facilitating easier keying in post. Additionally, tools like motion blur effects can enhance realism by reintroducing natural motion effects.
Choosing Your Green Screen Setup
DIY Green Screen
Creating a DIY green screen can be as simple as applying fluorescent green paint to a wall or choosing materials like muslin, nylon, or poster board for a portable or studio setup. Consider factors such as portability, patience with fabric wrinkles, and the coverage needed.
Green Screen Kits
Green screen kits, ranging from portable screens to full-size setups, provide filmmakers with a quick and easy solution. Ideal for YouTube content and talking head segments, these kits offer convenient assembly, breakdown, and storage options for on-the-go filming.
Final Words
Mastering green screen editing requires a blend of technical expertise, experience and creative finesse. Our team of versatile Green Screen Video Editors implements a host of techniques to get clean keys and seamless visual effects. Motion Effects specializes in flawless green screen editing for documentaries, brand films, and music videos – we can be your post-production partner no matter what type and scale of visual affects you need.
Want to enhance your visual storytelling with Motion Effects? Get in touch with us today!
